PDS purpose - Migration and prerequisites
Solution PDS Migration allows you to quickly and with minimal manual work to transfer created solutions, projects and related entities, and custom fields from one Power Platform environment to another.
To be able to successfully use the PDS Migration solution in a custom user Power Platform environment and further testing, the following conditions must be met:
- Administrative rights of the Power Platform.
- Subscription of the tenant for license plans: Plan 3 or Plan 5.
- Power Platform environment with active Database and installed Project Service Core application.
- Authorization on the website Home - Project Data Mobility Suite (https://app.pdms.io/)
This article gives you an example of setting up and executing a Project for the Web migration script and Power Apps solutions from one Power Platform environment to another.
It should be noted that the migration of solutions, projects and related entities between environments using the PDS solution is possible both within a single tenant and in other Microsoft tenants, to which the user has administrative access rights.
Authorization On The PDS Site
To use active apps you need to follow the link Home - Project Data Suite Home - Project Data Mobility Suite and click on either «Login» or «Sign up», depending on whether you have an account already created or not.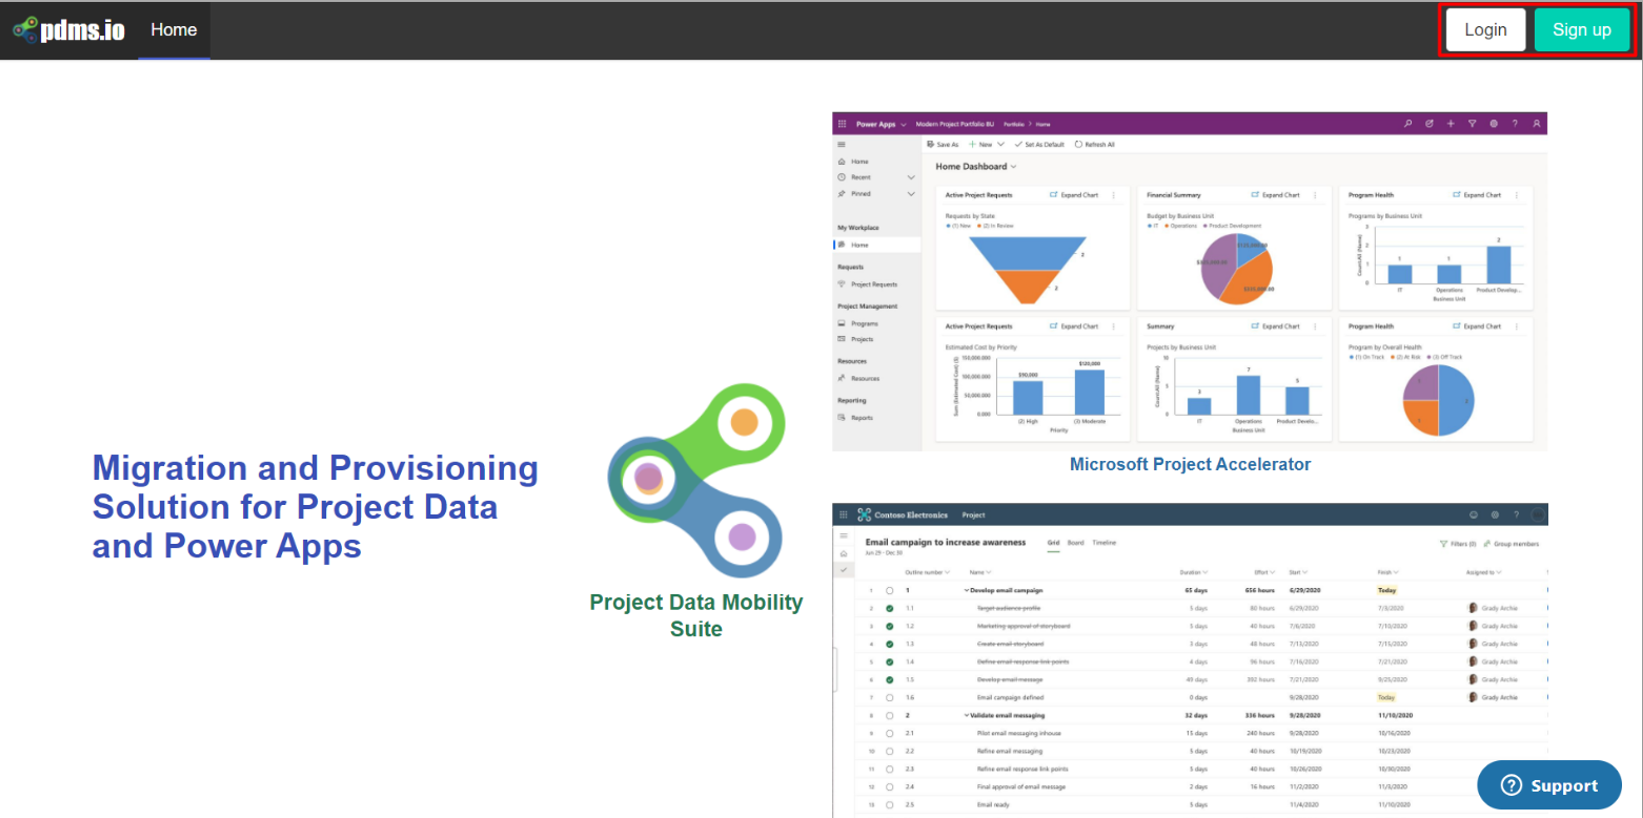
If you do not have access, you need to click the "Sign up" button and select which account you want to access. 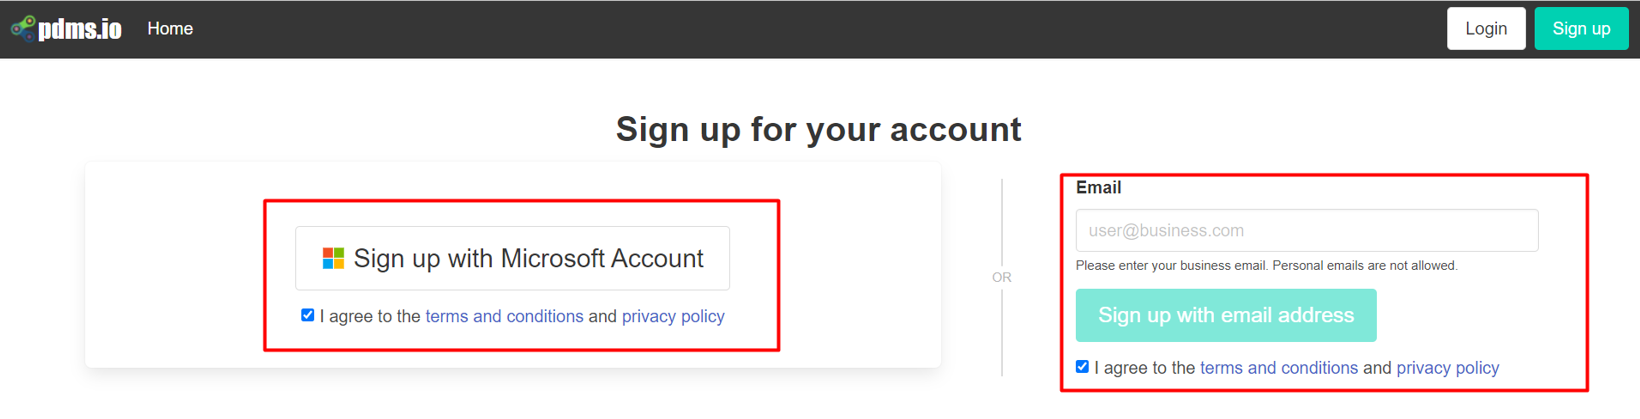

After access is requested, you will receive an email granting access.
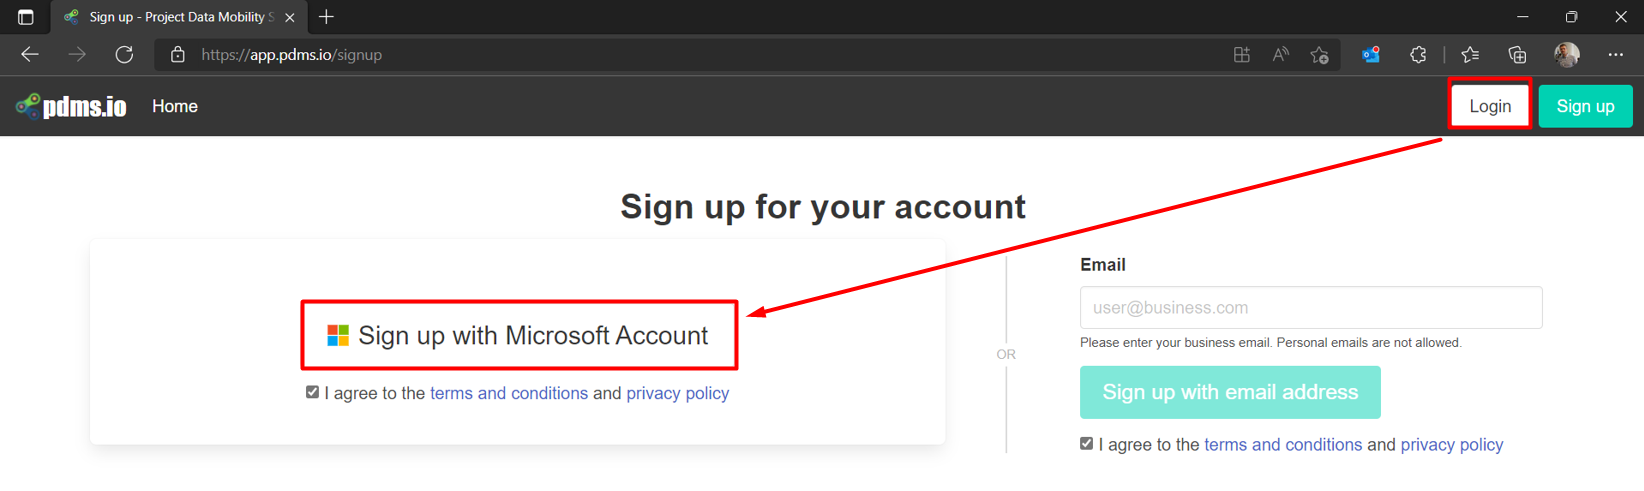
If you already have access, you should click the "Login" button and then click in the new window "Login with Microsoft Account" and log in using the account that was granted access.
Configuring and executing Project for the Web project migration scenario
After the successful authorisation on the PDS website, you need to go to the Migration tab - https://app.PDS.io/scenarios/ and click the button to create a new script for data migration.

First step
In the first step, you need to perform the following steps:
- Give the name of the script;
- Choose the type of source - Project for the WEB;
- Choose the appropriate authentication method for your account:
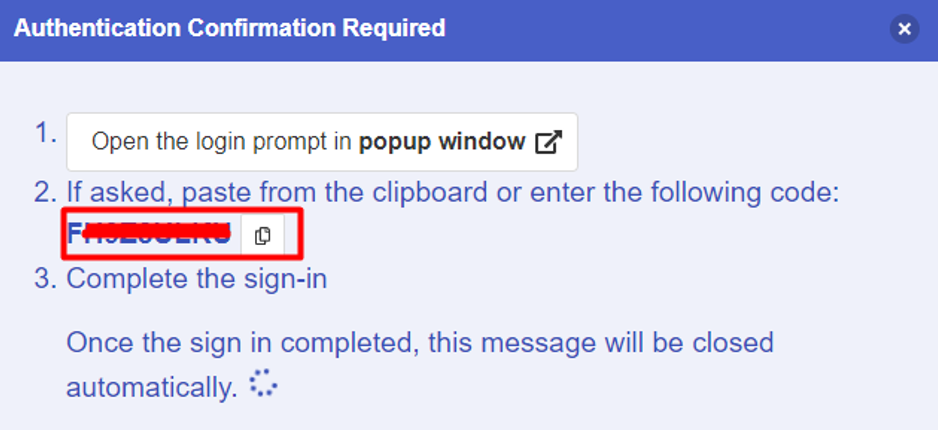
- Device - recommended for Production Environment with Multifactor Authorization (MFA)
- Login & Password - in case of using a demo environment (multifactor authentication is not required);

- AAD App – is used for a Production environment with application registration but with limited functionality

4. Perform authorization according to the selected method
5. Click Login
After successful authorization, you need, in the Source zone, to select the desired environment from which to migrate Project for the WEB projects and related Power Apps solutions.

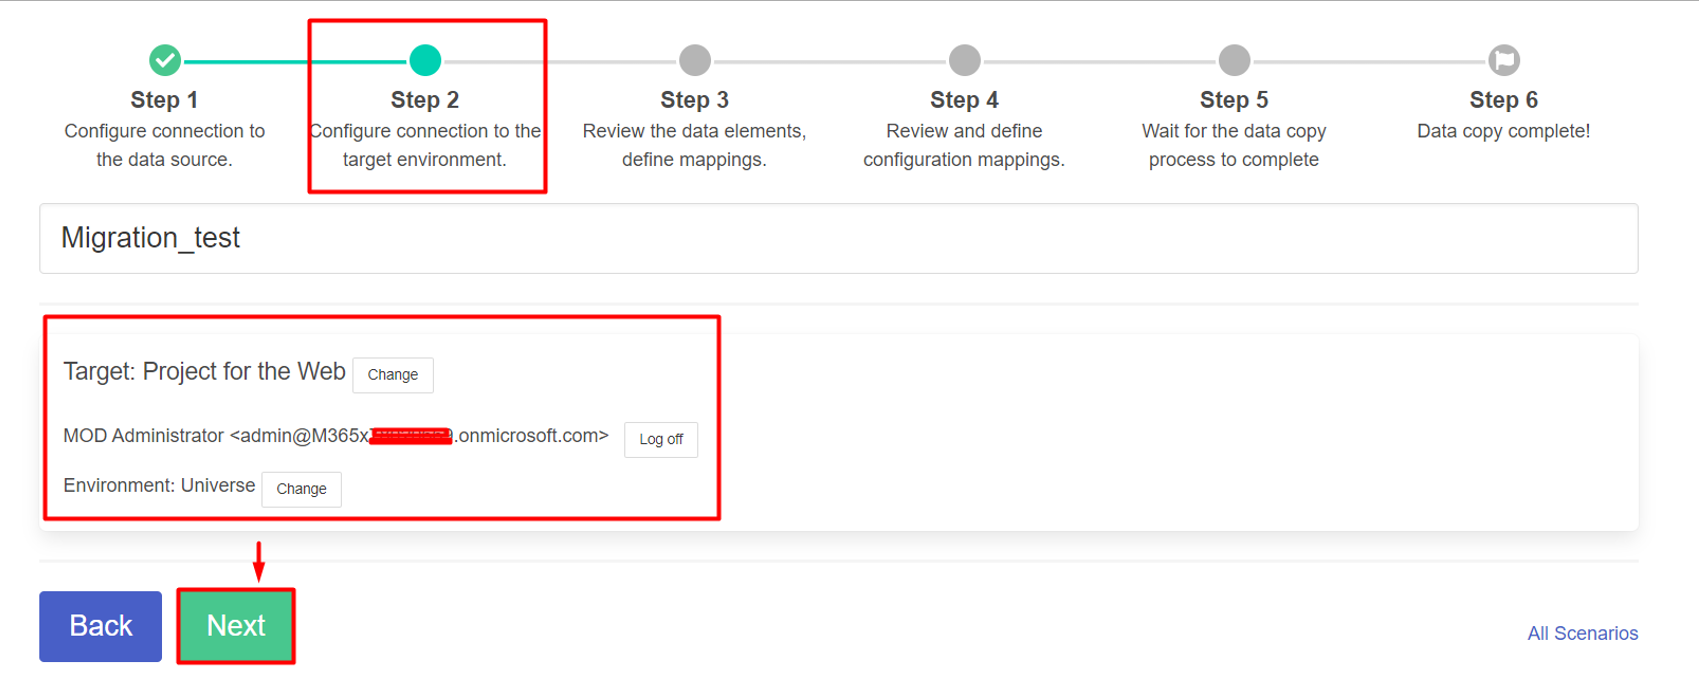
Second step
In this second step, you need to define the parameters of the target Power Platform environment to which you want to migrate: the login and password of the administrator, and the environment itself. When done, click Next to start the next third step.

Third step
If all previous environment settings are have done correctly, step 3 lists the Project for the Web projects created in the source environment.
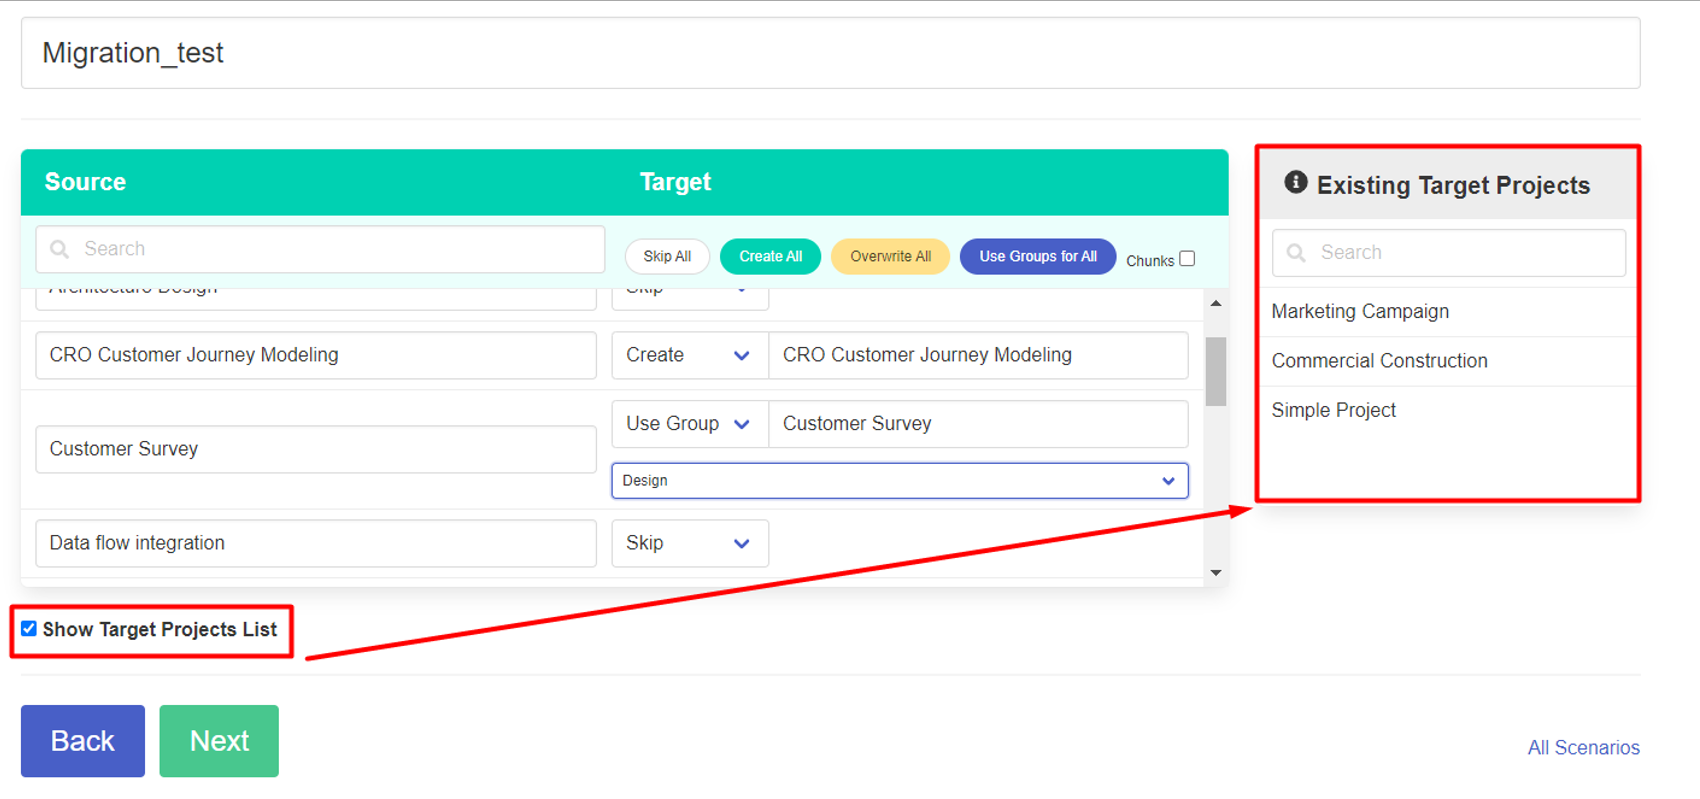
With each project, you can perform one of the options defined by the drop-down menu:
- Skip - do not copy;
- Create – reproduce the project in the target environment and create a new group O365;
- Overwrite - overwrite (update) an existing project in the target environment;
- Use group - reproduce the project and use the existing O365 group to access participants in the target environment
When you hover over each of the options, the tooltip window is activated.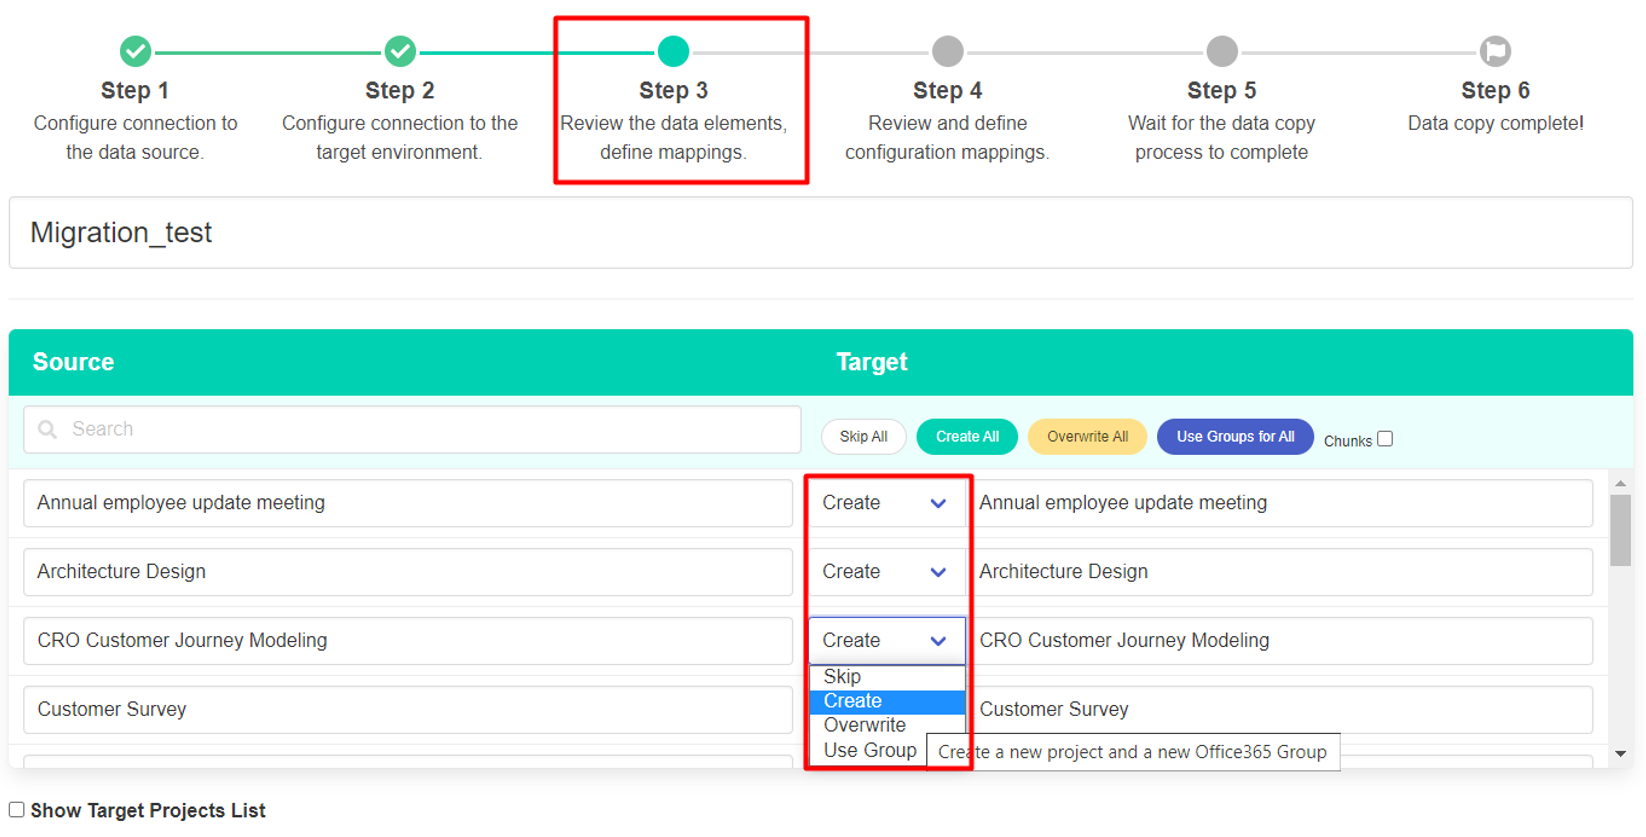
You can use the quick search box to search for a specific project.
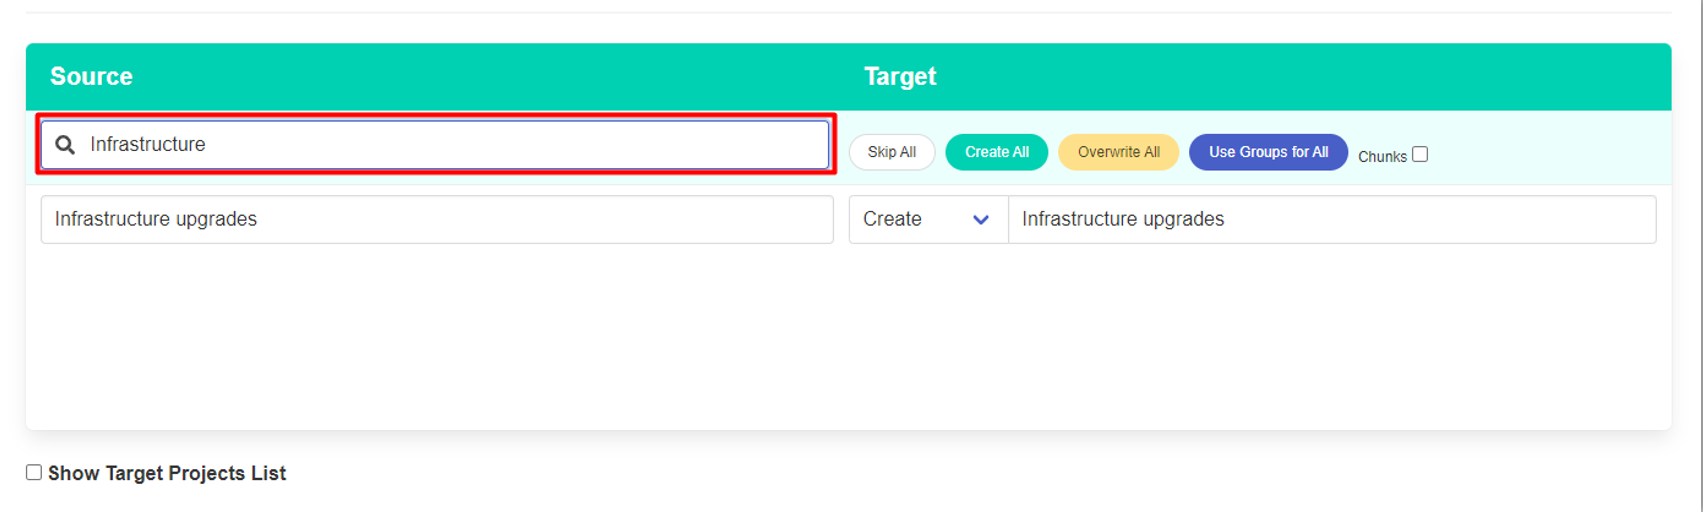
To perform a common processing option for all projects, it is convenient to use the buttons Skip All, Create All, Overwrite All, and Use Groups for All.
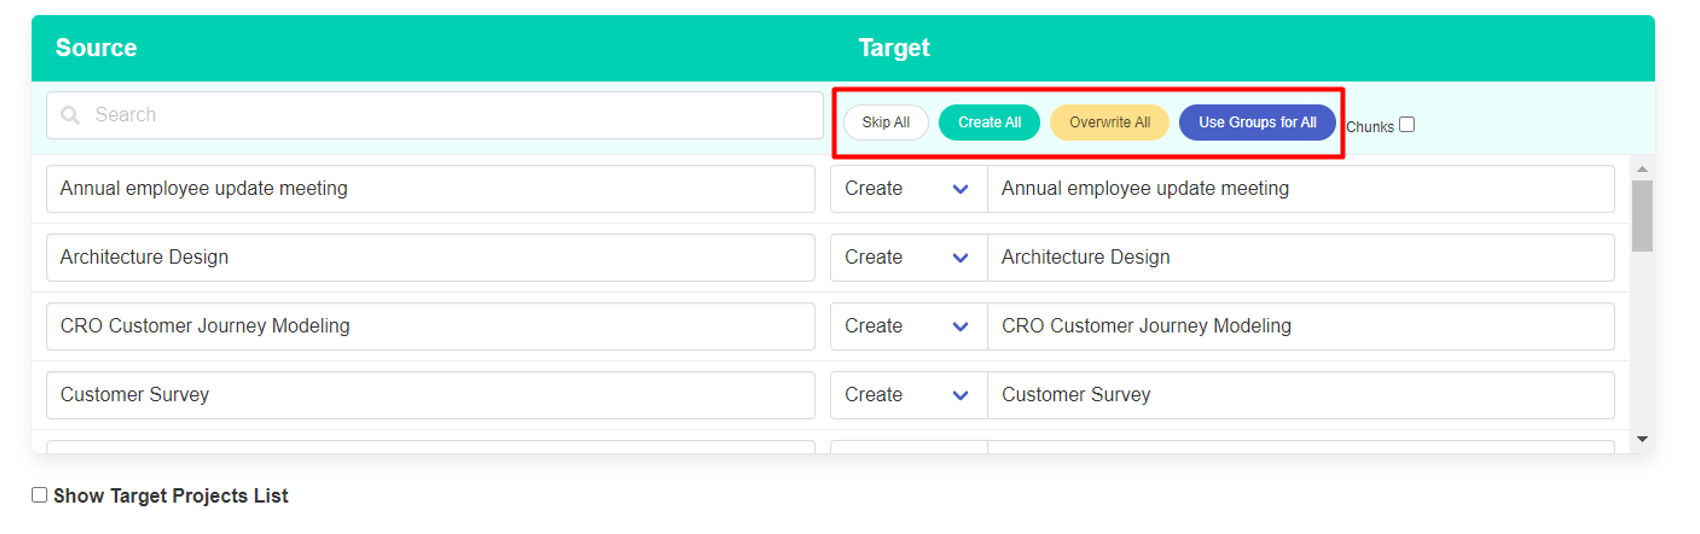
If there are projects in the target environment, using the Show Target Projects list checkbox, you can display them in a separate list.
To go to the next step, click Next.
Fourth step
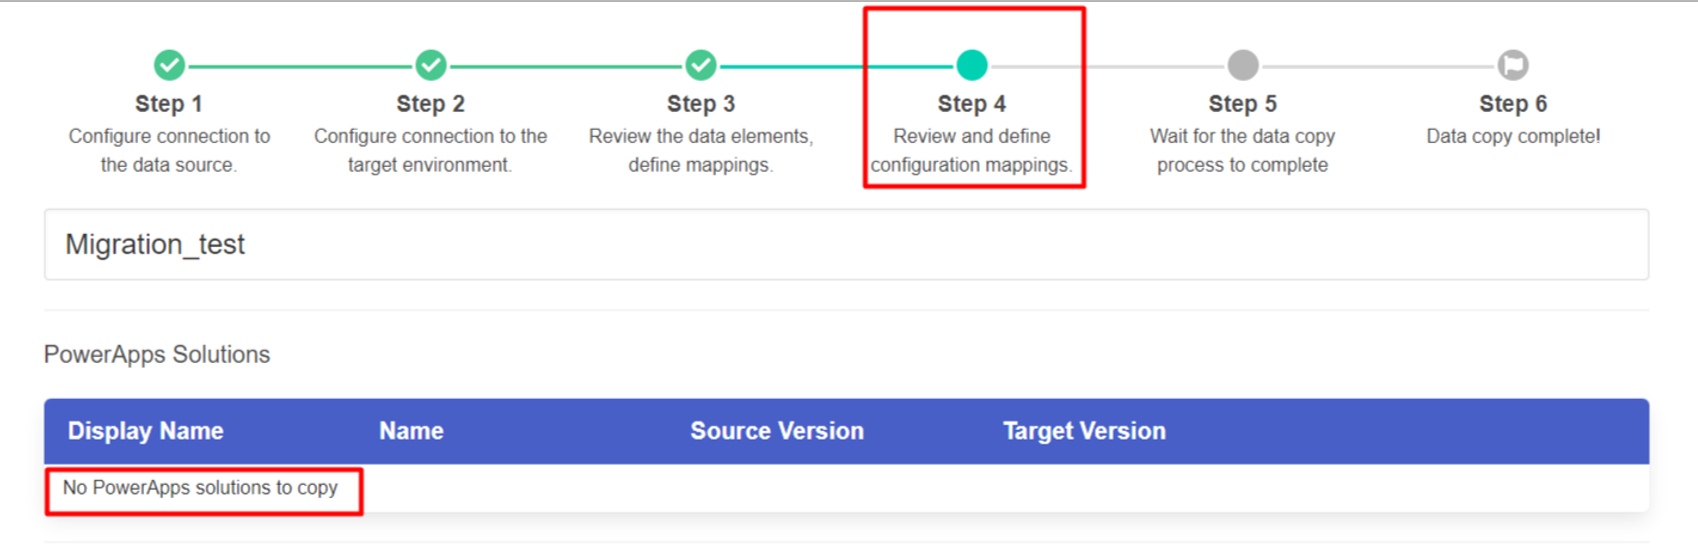
Configure solutions, tables, and fields for migration.
If no additional solutions and entities were created when creating template projects in the Default environment, the PowerApps Solutions block will display: "No Power Apps solutions to copy".
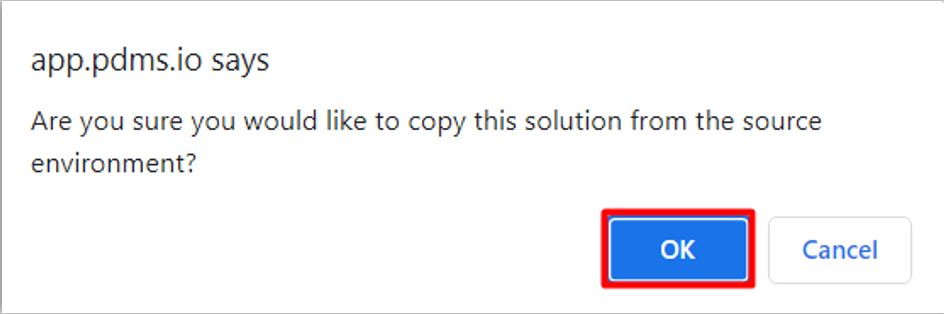
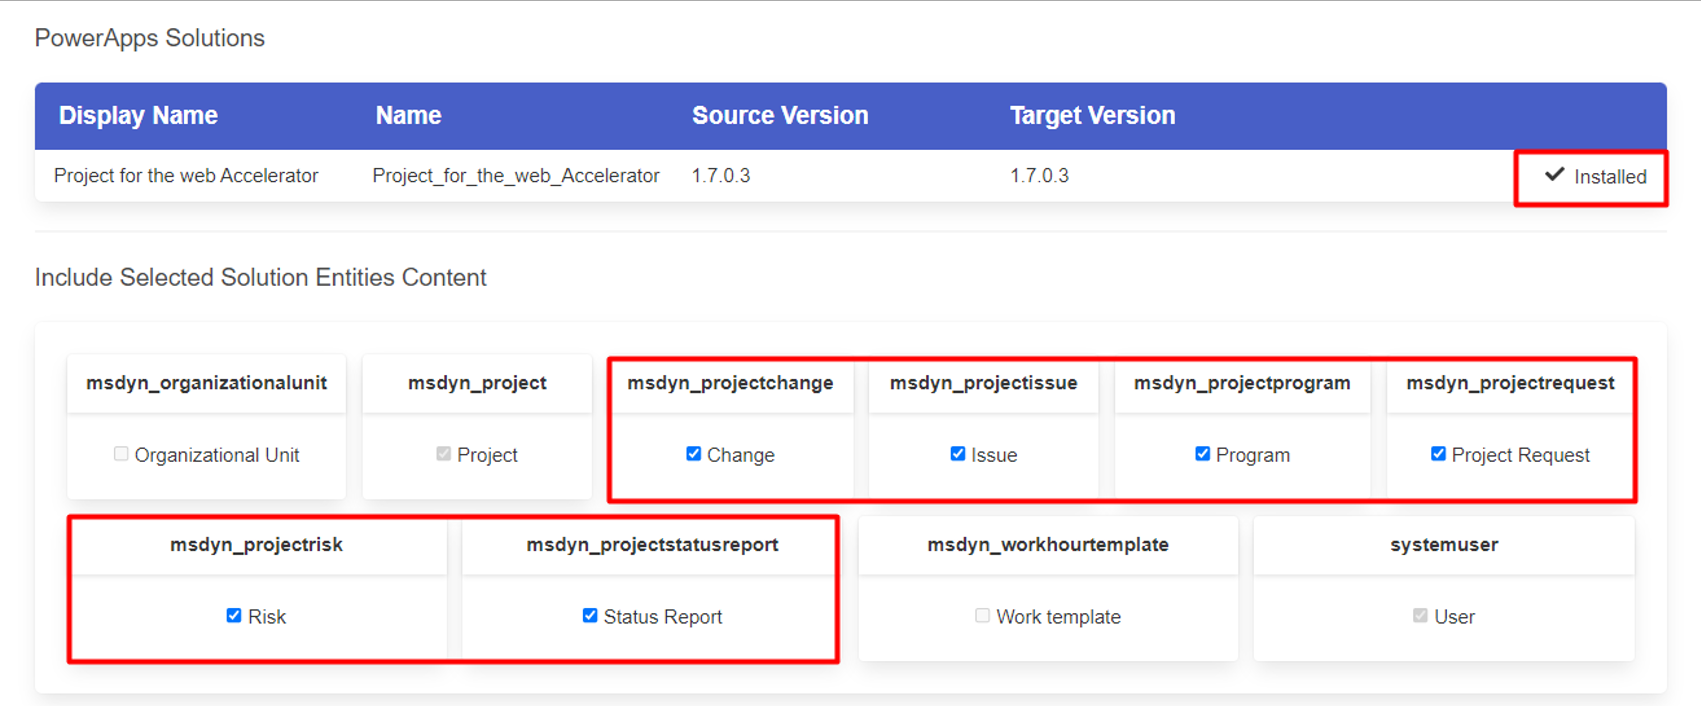
If there are solutions in the source environment, you need to click Copy and install to migrate to the target environment.

After the solution installation process is complete, a form will appear to select the tables from which you want to copy the data to the target environment.
In the Project Custom Fields section, you must check all the fields in the source environment tables from which you want to export data to the target environment.
If you activate the Select All checkbox, the data fields to be copied will be quickly selected.

If the name and type of validation fields already exist in the target environment, they will be offered in the Target block by default to migrate data from the corresponding Source fields.
In addition, you can use other existing fields of the target environment using the drop-down list to select.
If you are migrating projects from Project for the Web for the first time with customized calculated fields that are not in the target environment, you can activate the Select formula checkbox. As a result, custom formula fields will be selected and copied to the new environment.
If you check the New field, the fields in the target environment tables will be created as new and their contents will be copied from the corresponding Source fields.
The Copy Resources section is used to copy Non-User resources (https://docs.microsoft.com/en-us/project-for-the-web/create-nonuser-resources-in-project-for-the-web) (contacts, contractors, equipment) and their assignments to project tasks.
Only resources referenced in selected projects - to copy Non-User resources (https://docs.microsoft.com/en-us/project-for-the-web/create-nonuser-resources-in-project-for-the-web) (except AAD users) assigned to projects selected for export.
All resources - to copy all Non-User resources (https://docs.microsoft.com/en-us/project-for-the-web/create-nonuser-resources-in-project-for-the-web) (except AAD users).
The AAD user resource assignments are copied automatically if the migration is performed between environments of the same tenant.
If you are migrating projects to another tenant environment, you must first create the same users in the target tenant AAD.

To go to the next step of the script, click Next.
Fifth step
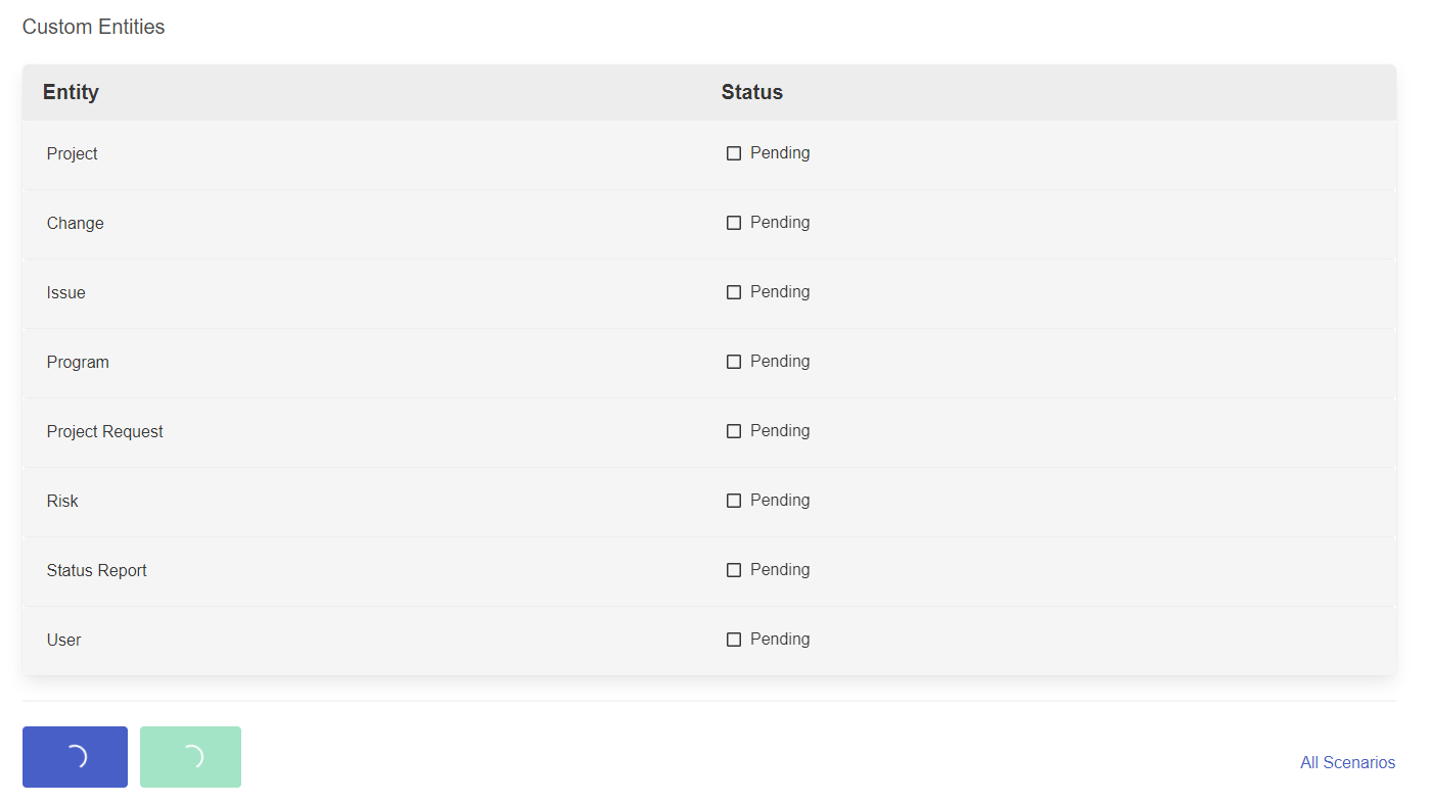
Step 5 directly copies the projects and related data in the target environment

At the end of the process, a report is displayed on the results of the copying of the Project for the Web data. Yellow warnings may indicate that it is not possible to copy certain local settings for displaying project tasks in Project view views, but this does not affect the correct transfer of the data itself. When you hover the mouse cursor over the Warning icon, a pop-up tooltip details the content of the warning.


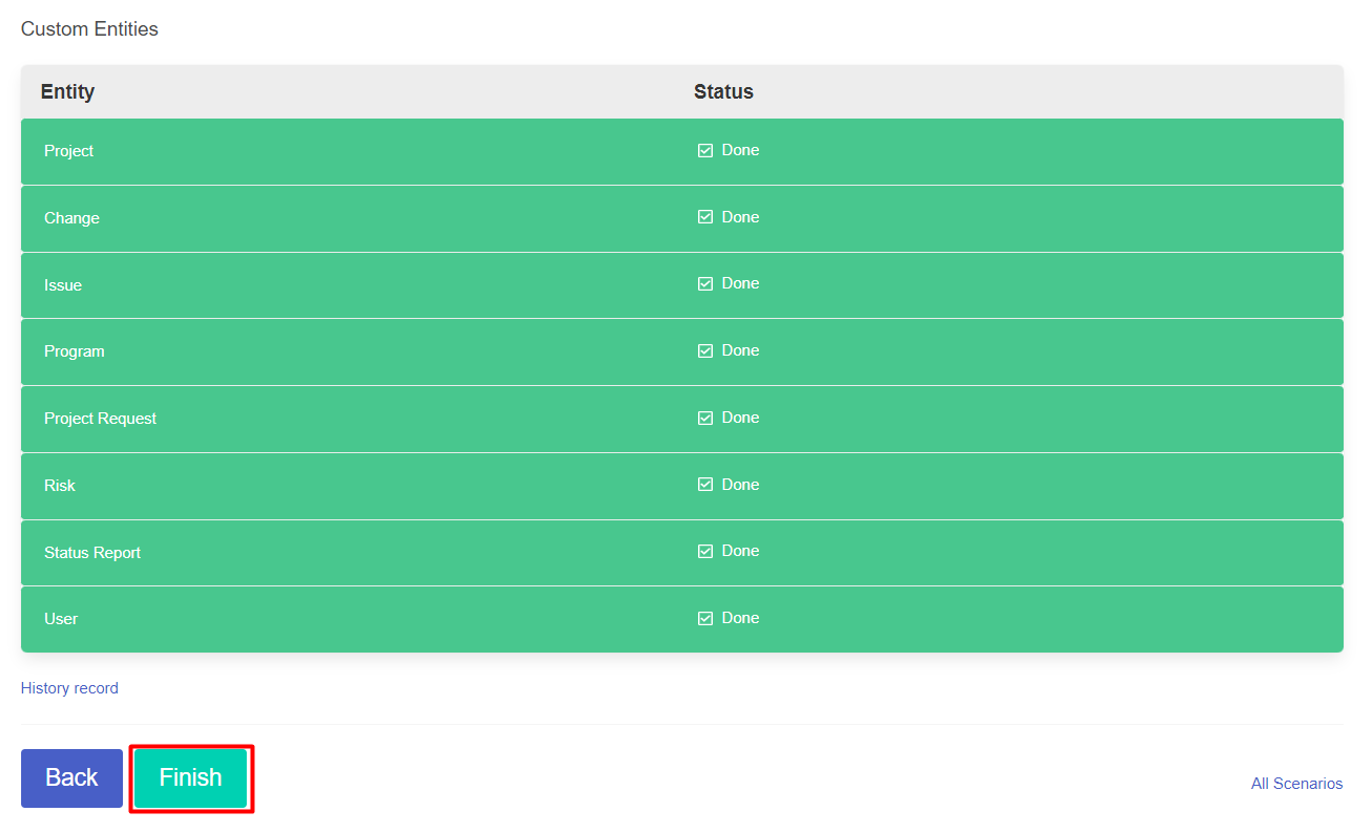
Click Finish to complete the migration scenario.
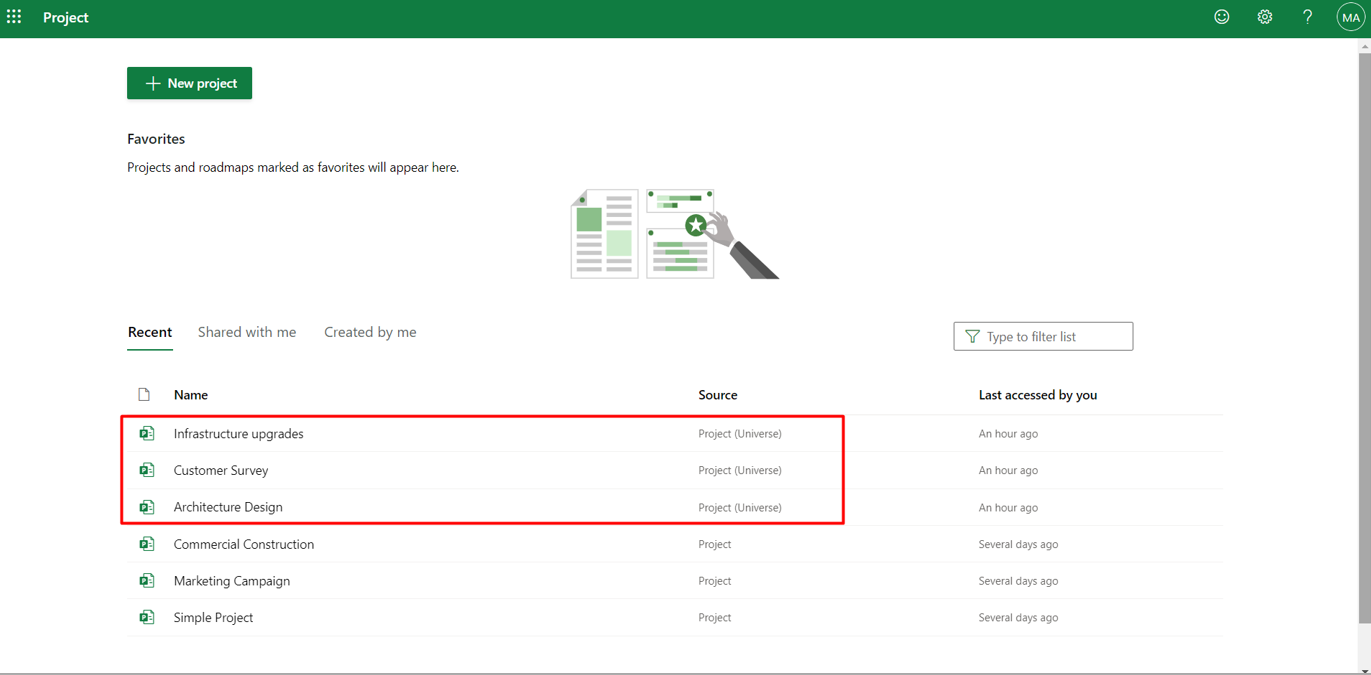
To check the result of project migration, we can first open the Project Homepage application. Copies of created projects in the target environment should appear in the general list of created projects in the Project.
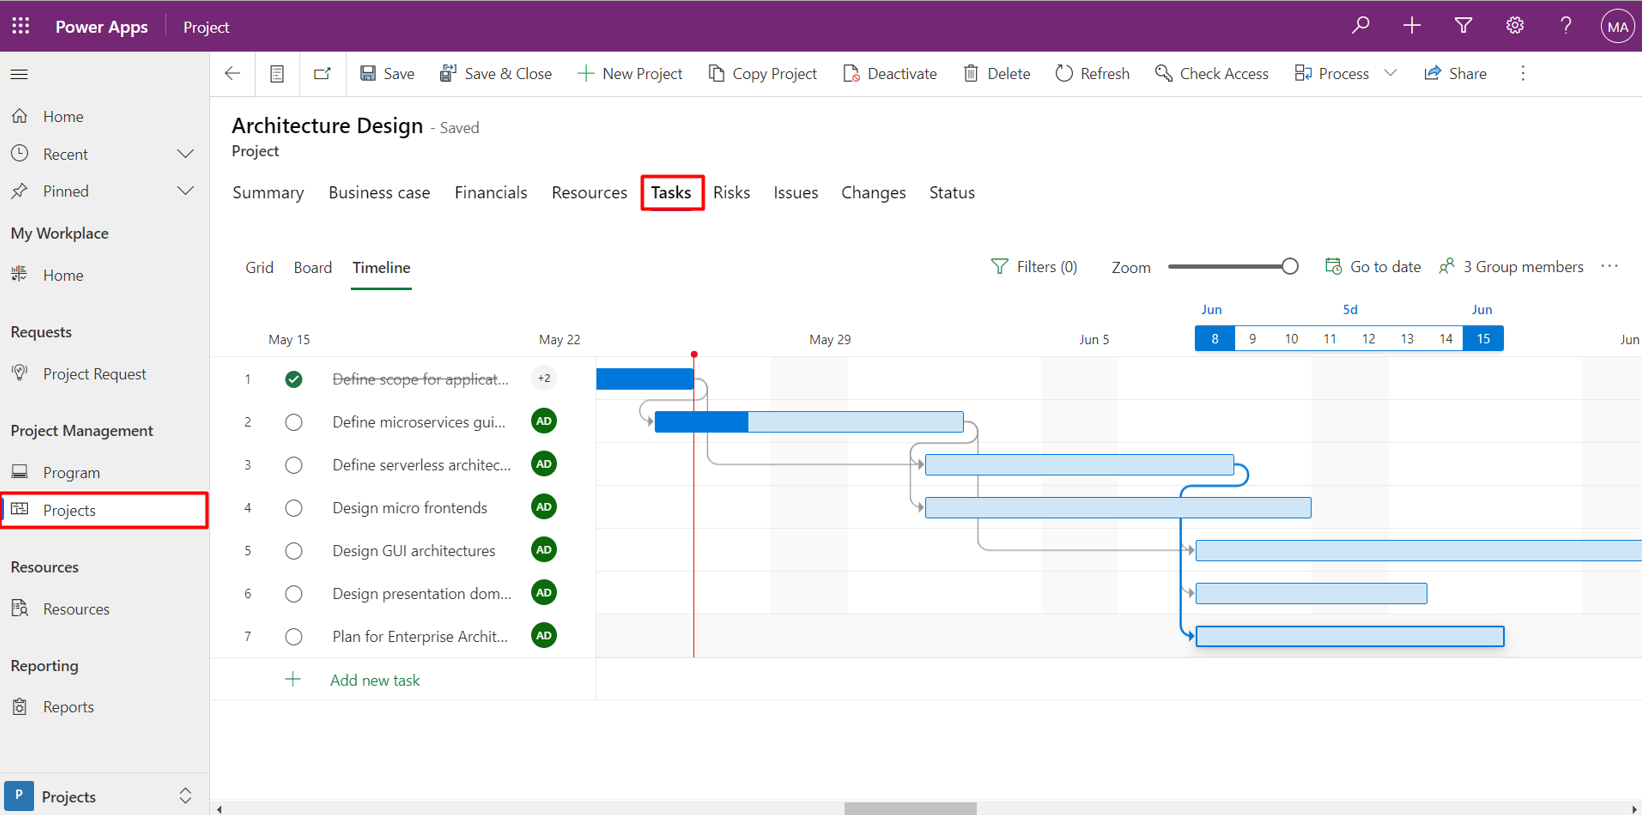
To ensure the success of the migration of solutions and data-related tables, go to the target environment in Power Apps, and open the Project application on the Apps page.

All projects copied to the target environment will be displayed on the Projects page of the application in the view.


Other tabs on the application in the target environment should have views for viewing and editing the contents of other related entities selected in the migration script mapping.


